
There’s nothing like the feeling of a fantastic photoshoot, especially as a new photographer. When you find the perfect composition and everything runs smoothly, the experience is comparable to a runner’s high.
That is until you hit the editing stage.
Many photographers have a love-hate relationship with editing. While this stage of the creative process provides the opportunity to choose the best shots and elevate the images, it’s also the stage where things can go awry.
If you’re new to the world of photography or haven’t had any formal training, avoid these common editing mistakes.
Over-Cropping Images
Over-cropping images is one of the new photographers’ most common mistakes when editing. One of the first lessons you’ll learn in photography is the rule of thirds. This composition guideline asks you to view your image through a nine-square grid; some cameras have a grid option to assist with this practice. In other words, your subject should be in the left, right, or center of the image with negative space.
The negative space plays a vital role in showcasing the viewer where to focus in your image. When you over-crop your image, it removes the depth and dimension from the image. Rather than the viewer feeling like their eyes are drawn to the subject, you’re forcing the direction of the gaze.
When mishandled, close-cropping can also throw off the aspect ratio of your image, which could pose problems when sizing your image for various mediums. While you may decide to experiment and fill the frame with your subjects at some point, it’s best to start with the rule of thirds and learn the basics of photo composition before experimenting.
Over-Doing Subject Touch-Ups
The goal of portrait photos is often to showcase someone in their best light. While lighting and angles help with this task during the photoshoot, you’ll likely enhance their appearance through edits after the fact. While this process is standard, there is too much of a good thing.
The goal of editing someone’s appearance is to minimize perceived flaws and blemishes, not make them look inhuman. Feel free to use a red eye remover, whiten the teeth, reduce lines and wrinkles, and delete hair flyaways. However, don’t over smooth the skin so that it looks blurry or plastic, or whiten the eyes and teeth to the point they look unnatural.
When it comes to editing a portrait photo, less is more. To avoid common mistakes, you may use Lightroom presets to enhance your photos like a pro.
Improper Application of HDR
HDR (high dynamic range) is a powerful tool that can bring your photo to life— especially in landscape photography. With this tool, multiple images are taken and layered to capture the entire range of the image, from the darkest shadows to the lightest light. Many modern cameras have an automatic HDR setting, though the process used to be completed manually.
When applied improperly, HDR can make your photo take on a hyper-real or surreal quality that detracts from the image. While the details are clear and beautiful, it looks fake.
Managing your HDR application will depend on your camera and editing program. Take some time to learn about HDR and play with it to find the right balance; don’t just switch on the HDR setting and let it run wild. As with portrait edits, less is more with HDR.
Compromising the Original Image
Another common editing mistake that you’ll learn to regret is compromising the original image. Make copies of all of your original images and store them safely before editing. While most photo editing tools have a setting to help you revert your image to the original, you shouldn’t rely on it.
Having a data backup of your photos also serves another purpose: it allows you to go back and enhance older images once you improve your skills. As your skills advance, you’ll likely look back and dislike your amateur editing capabilities. This experience is normal in any skill set! Having a copy of the originals allows you to go back to your favorites and adjust them based on the skills you’ve acquired over time.
Patterning via Cloning
It’s amazing how editing tools have evolved and how accessible they’ve become to photographers of all levels. One of the most useful features of modern editing software is the cloning capability, which is used to remove background noise. For example, you might use cloning to remove people from the background of your travel images.
In essence, the cloning tool takes a sample of a clear image from the photo and applies it over the distracting object that you’re trying to remove. Depending on the complexity of your image, you may have to manually clone samples with a paintbrush feature rather than a simple stamp.
The mistake to avoid is creating patterning in your image. In other words, creating patterns in the scene that are notably unnatural. For example, if you were using the clone tool on the sky, you might have matching clouds— something that doesn’t occur in nature. Take your time and use new source samples (the section of the image you’re cloning to cover the object) to keep things fresh and organic.
Failing to Adjust Calibration
Have you ever looked at an image on your laptop then noticed it looks entirely different on your phone? Screens are inherently inconsistent. Consider the fact that most smartphones automatically adjust the display settings based on the surrounding lighting or that your laptop might enter power-saving mode if it becomes unplugged.
One of the most overlooked photo editing mistakes is failing to adjust your device’s calibration before you start editing. There’s no one definite way to calibrate your screen, as the directions are different for each device. However, this feature is typically found in your device’s display settings and will walk you through the process.
If your device doesn’t have built-in calibration settings, there are online tools you can use to manually adjust your screen. If you fail to calibrate your screen before you start editing photos, your tone and white balance will be off when the image is shared or printed, as you’ll be adjusting the colors to the wrong standard.
When your screen colors are calibrated, an image displayed on your screen should match an image that’s printed. If there’s a difference, your screen needs calibration.
Using Outdated Editing Trends
Remember in the early 2000s when it was cool to have black and white images with the subject or a certain aspect of the image in color? Or in the 1980s, when it was cool to have a superimposed image of someone’s face looking down at their family photo?
Good photos are timeless and evergreen. Using outdated editing styles— especially if your goal is to monetize your photography skills— is a common photography faux pas. While it’s fun to partake in these trends while they’re popular, don’t pigeonhole yourself; stay on top of changing editing trends and adapt.
It’s worth highlighting vignettes as a semi-outdated edit as well. While adding a slight vignette has a time and place in modern photo editing, avoid the obvious vignettes of the past.
Too Much or Little Contrast
The contrast of your image refers to the difference between shadows and highlights. High contrast images enhance the difference between dark and light by enhancing the shadows. Conversely, low contrast images minimize the difference between highlights and shadows.
Adjusting the contrast is a fantastic way to create a theme in your work or adjust for insufficient lighting during your photoshoot. However, it’s easy to overdo it in either direction. Take the time to learn about the curves in your image and how to adjust them manually to find your balance.
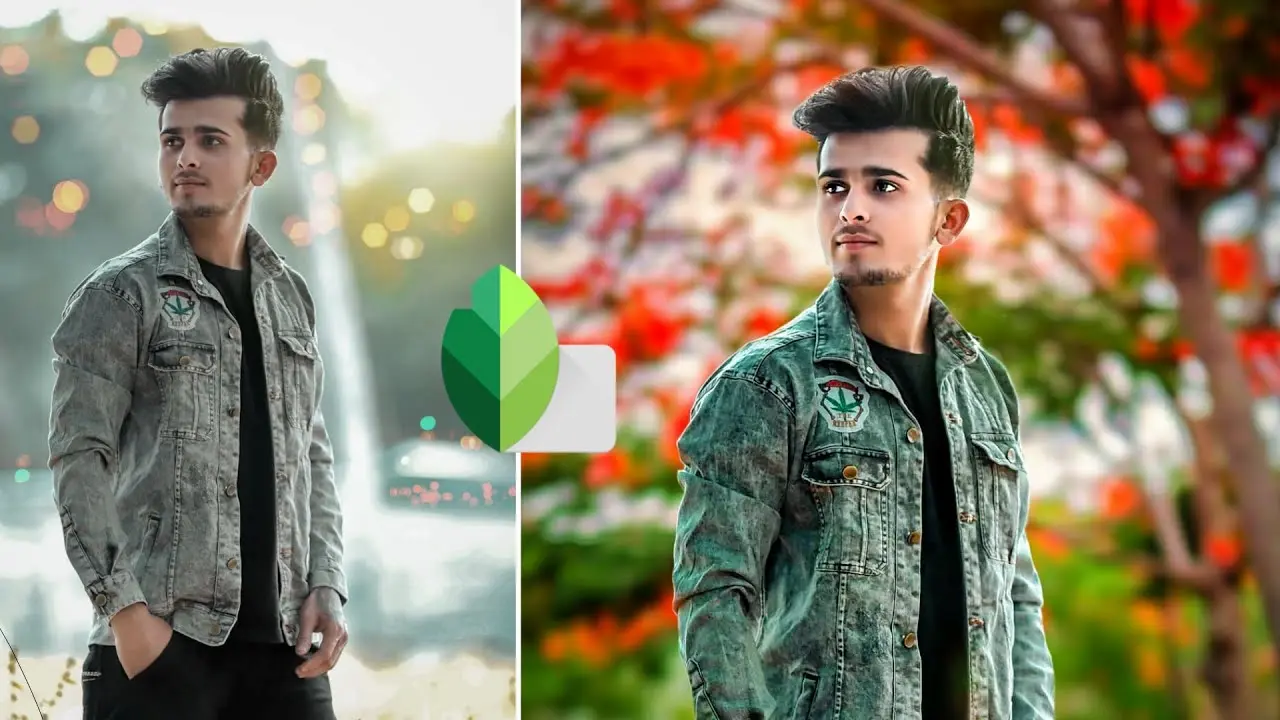
Too Much or Little Saturation
Overdoing image saturation edits is another common editing mistake. Adding too much saturation can make an image look fake or garish, while too little can make it look flat and dull. Again, screen calibration plays a role in this aspect of your photo editing outcomes.
Remember that less is more when adjusting the saturation. Enhancing the saturation slightly can make colors pop and increase the realism of your image. Lowering the saturation slightly adds a muted effect that can change the emotion of your image, creating a sense of calm or dreaminess.
Too Much or Little Sharpening
Sharpening is yet another photo edit that’s best handled in moderation. Adding sharpening to your image can add clarity and focus around soft edges. This effect can make the subject of your image pop in a subtle way. It creates a subtle contrast between the subject and the surrounding, giving your photo that realistic, 3D effect.
Unfortunately, over-doing the sharpening can have a negative impact on your photo. It can add noise to your photo or halos that become apparent when other edits are applied.
Failing to add sharpening isn’t as noticeable as over-doing sharpening. Unfortunately, it will just limit the eye-catching effect of your photo.
Relying too Much on Presets
Presets are a lifesaver for large photography editing sessions. Using presets will save you hours of editing time and help you create a signature aesthetic for your images. However, it’s essential that you learn to edit manually before you add presets.
Additionally, you must understand which presets to choose based on the image surroundings and subject. Adding a golden tone preset to a sunset scene might look amazing; adding that preset to a portrait might make the person look like they got a bad fake tan.
Learn how to edit your photos manually so that you understand the underlying settings of your presets. This knowledge will help you choose the right preset based on the photo.
With photography, it’s important to learn the rules so you can eventually break them and find your unique artistic flair. It’s worth working with a mentor or taking some basic editing courses to enhance your skills.